We Provide Food Fit for a King & Queen!
Fresh, locally-sourced ingredients create the ideal dining experience.
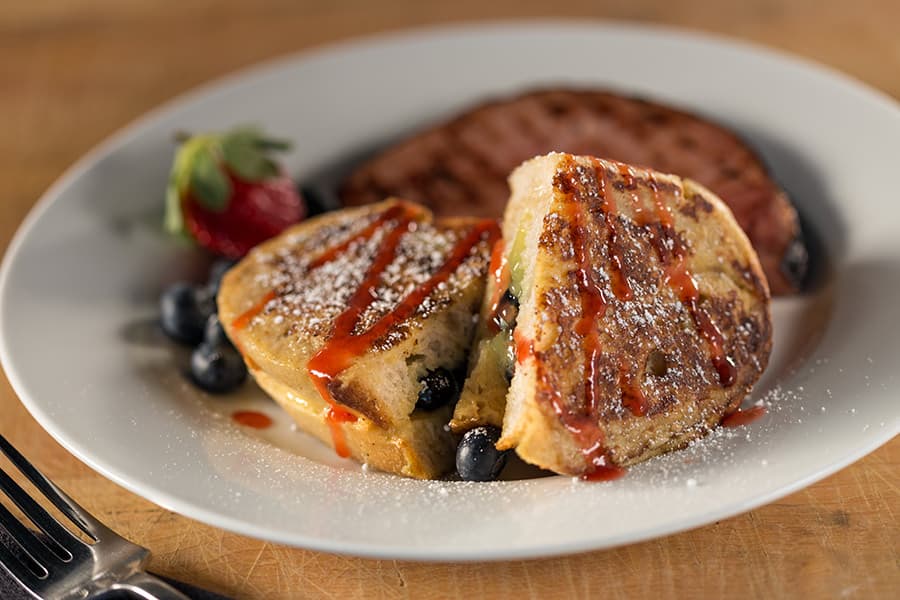
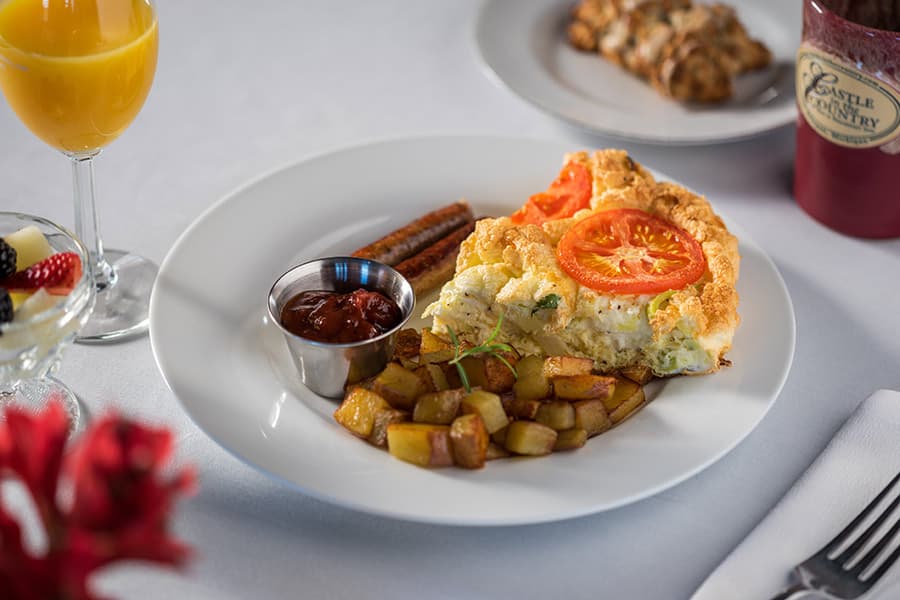
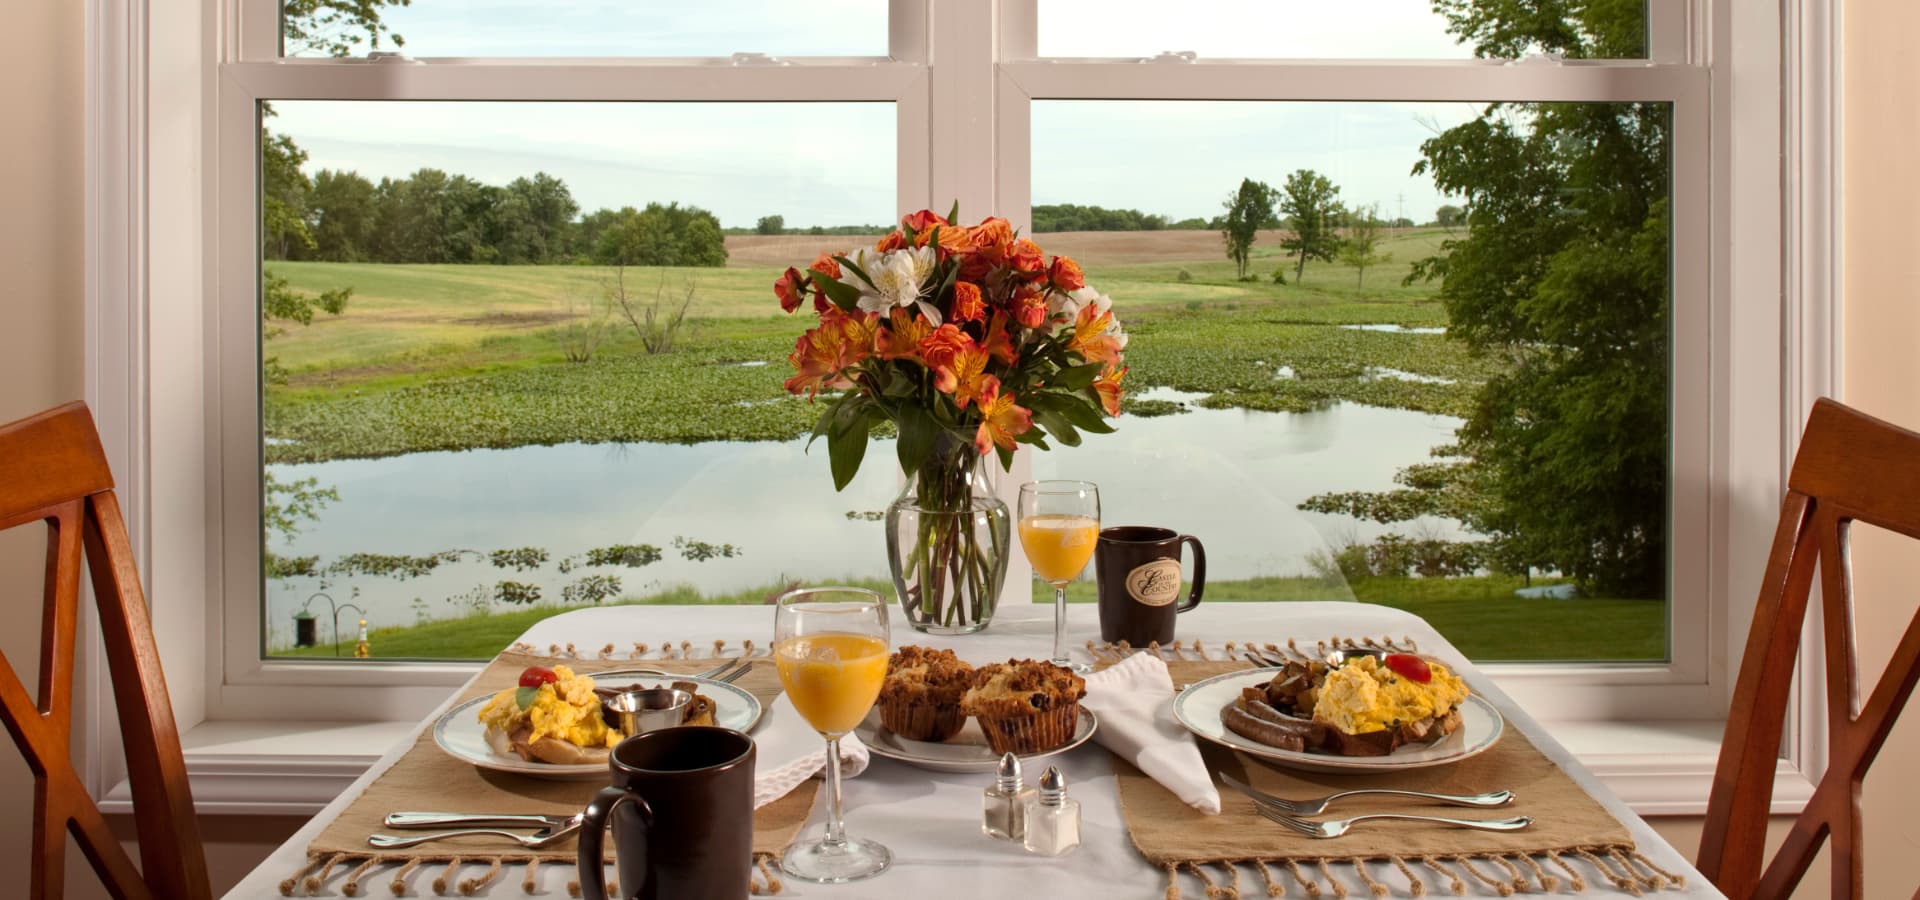
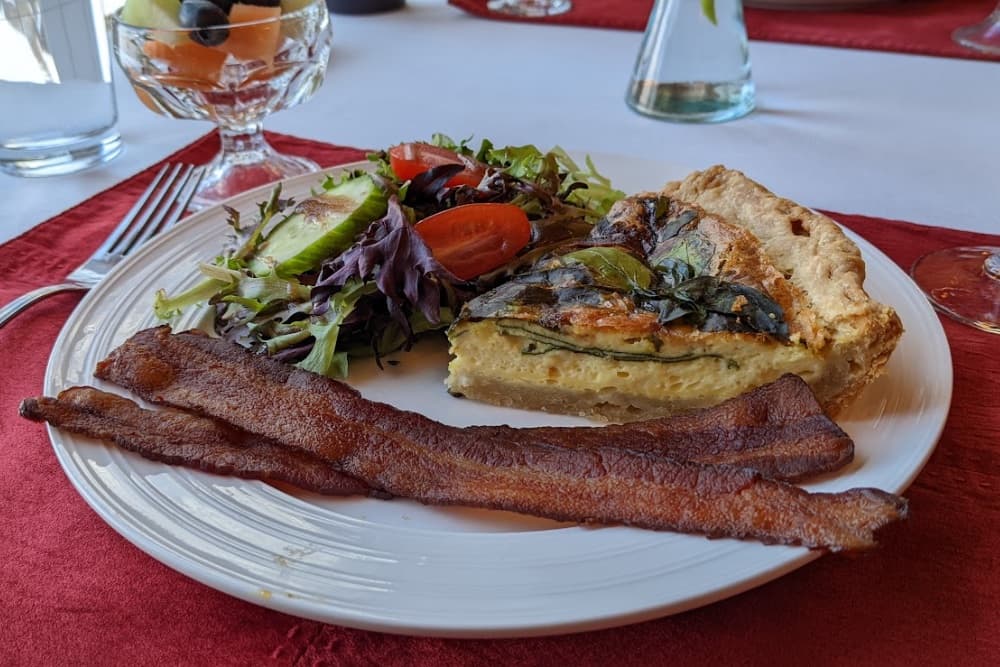
Start your day at Castle in the Country Bed & Breakfast Inn with our full, scratch-made breakfast each morning of your stay. Whether you decide to take advantage of adding a package to your lodging experience, or decide to follow the suggestions we give you with our Adventure Map at check-in, you're sure to enjoy all the best farm-to-table restaurants, wineries, and brew pubs in southwest Michigan! At our country inn, we're all about helping you satisfy your inner foodie!
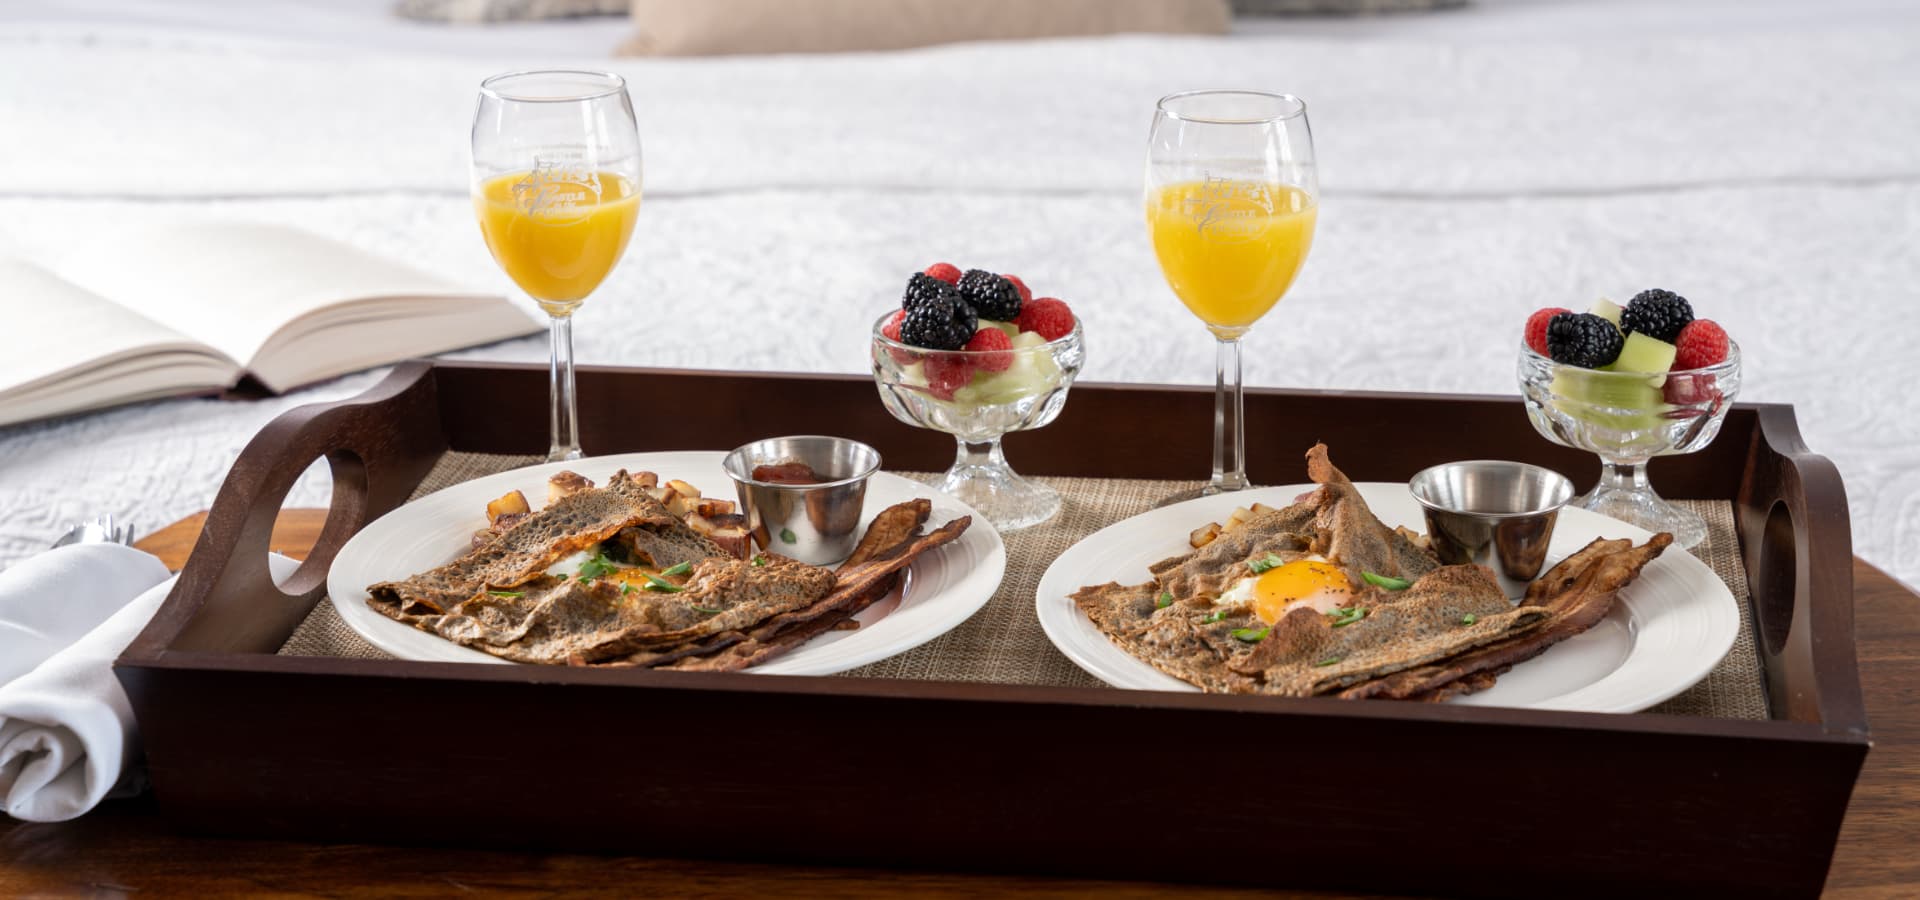
Scratch-Made Breakfast Served Daily
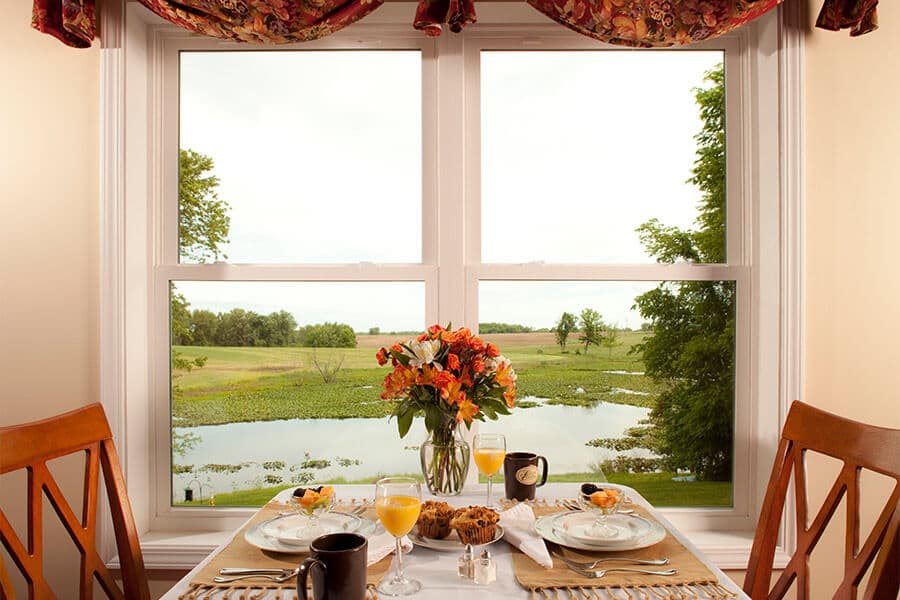
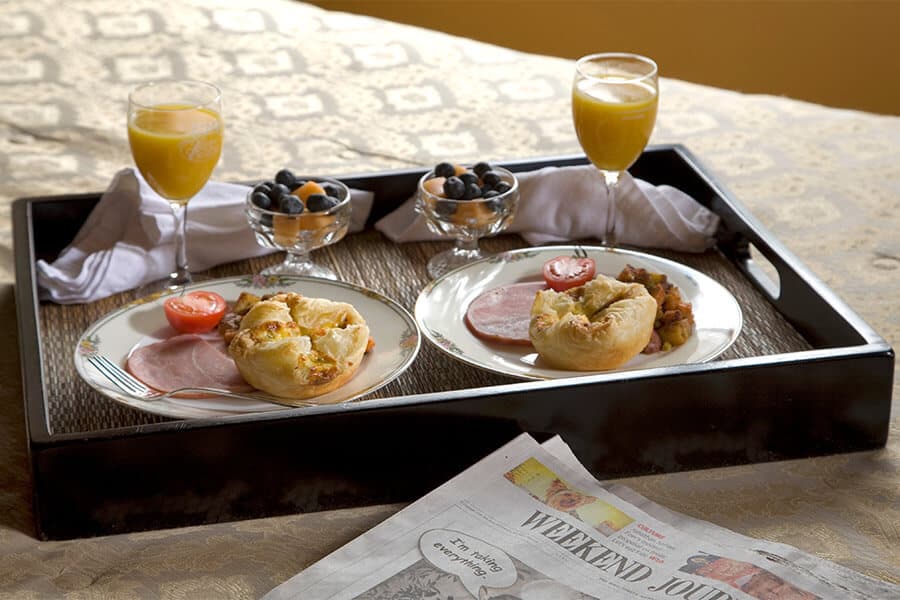
Breakfast is always complimentary with your stay! During your check-in, we’ll review our breakfast offerings and discuss any modifications necessary for dietary restrictions. Breakfast will be served at a private table in our Midnight Sky dining room, which overlooks the beautiful pond. If you’ve added a package to your stay, you’ll have the option to choose in-room tray delivery.

Royal Treatment Package
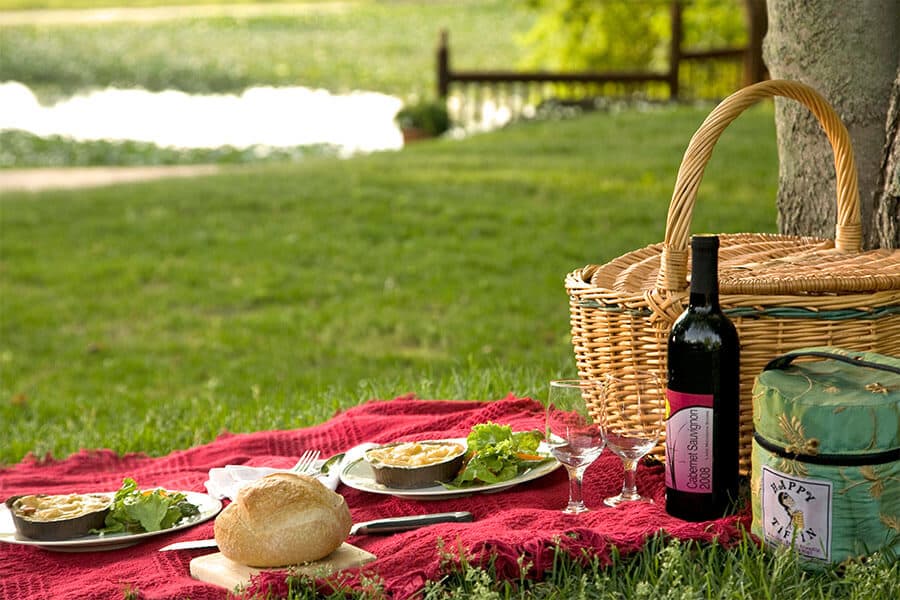
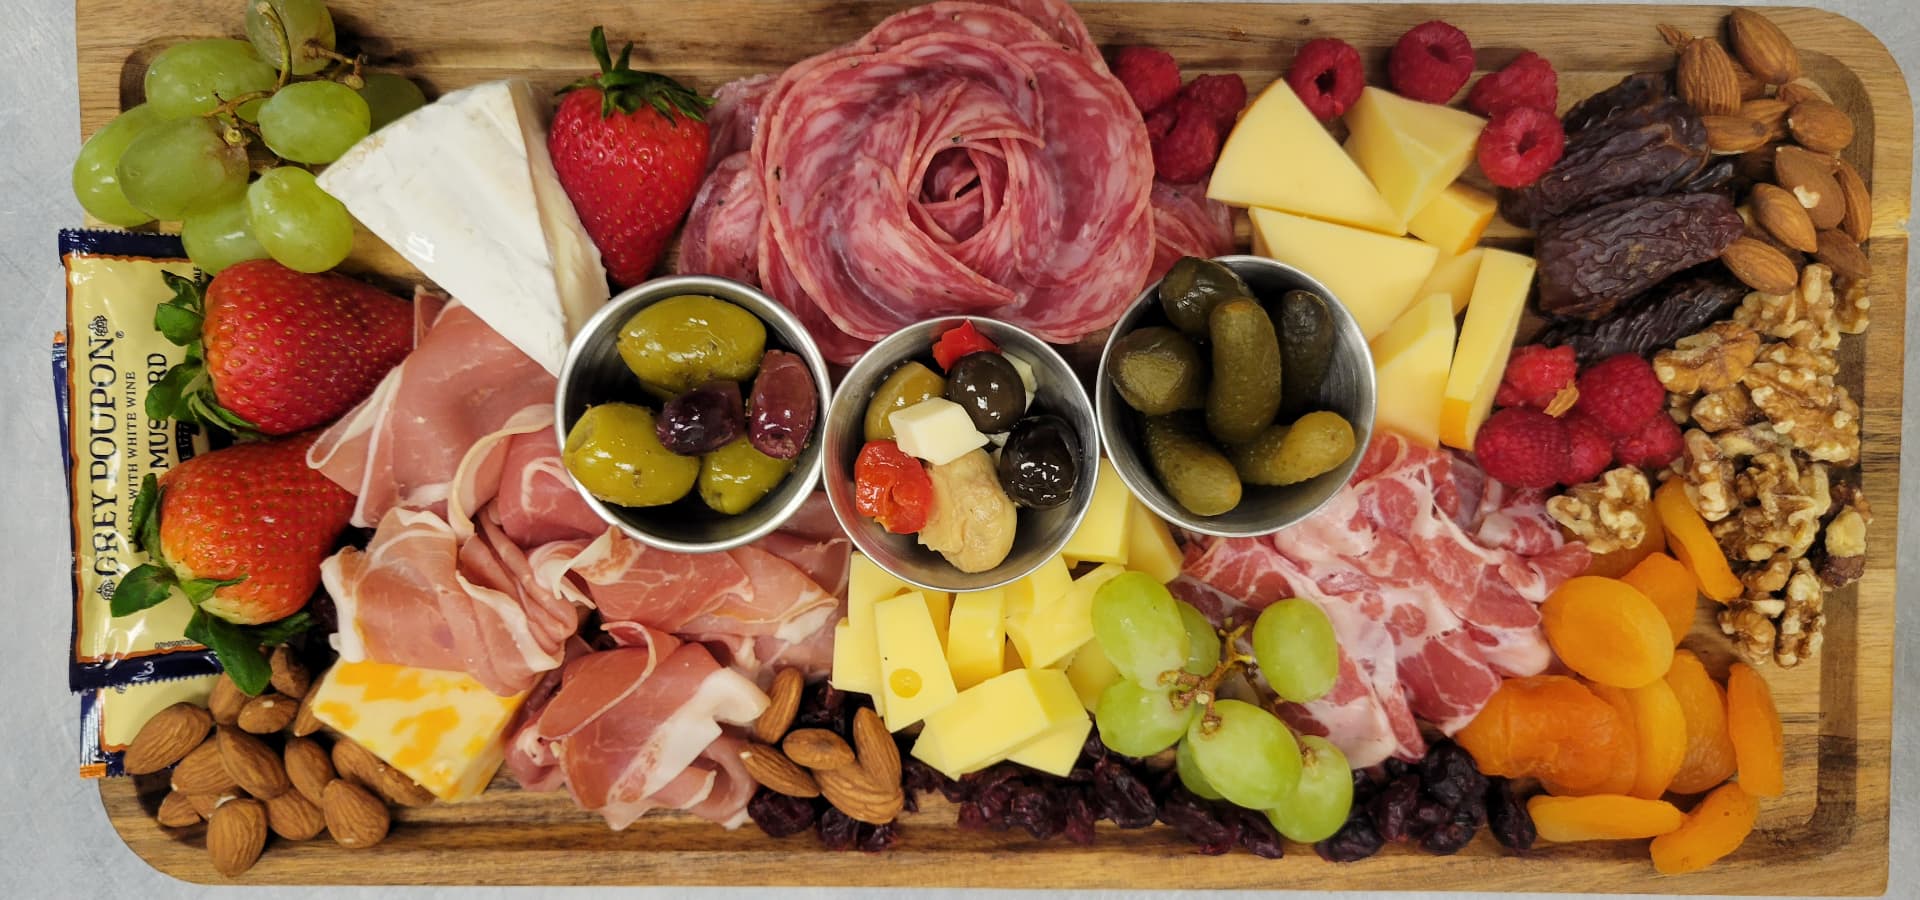
Picnic Basket Lunch
When you add this package to your lodging of a two or more night stay, we'll pack all the best ingredients in a tote that you can take outdoors, or stay cozy in your guest room, without even leaving the property!
Our Basket Includes:
- Beverages (locally sourced)
- Cheese & crackers
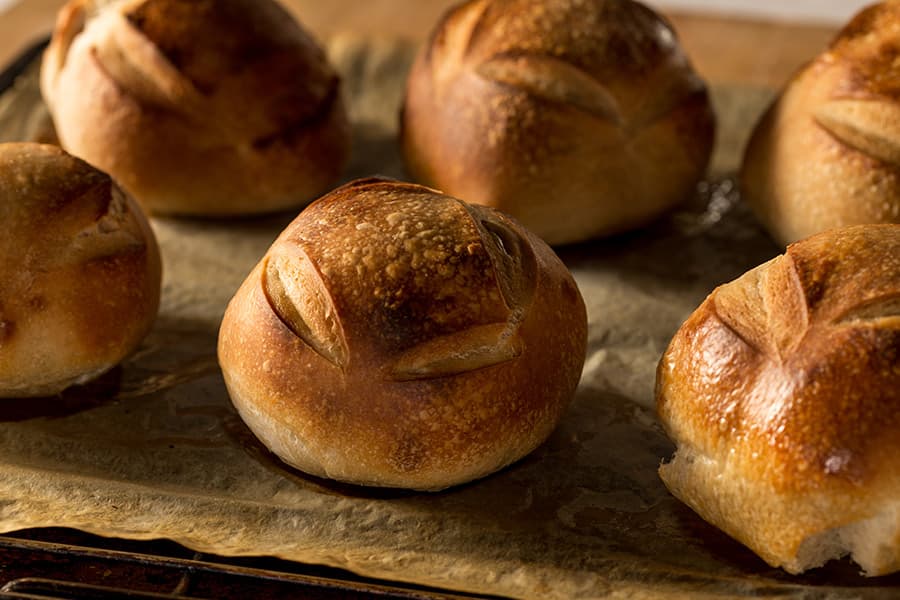
- Herb’s homemade sourdough bread
- Fruit
- Finger foods
- Cookies
.jpg&w=3840&q=75)
Celebration Package
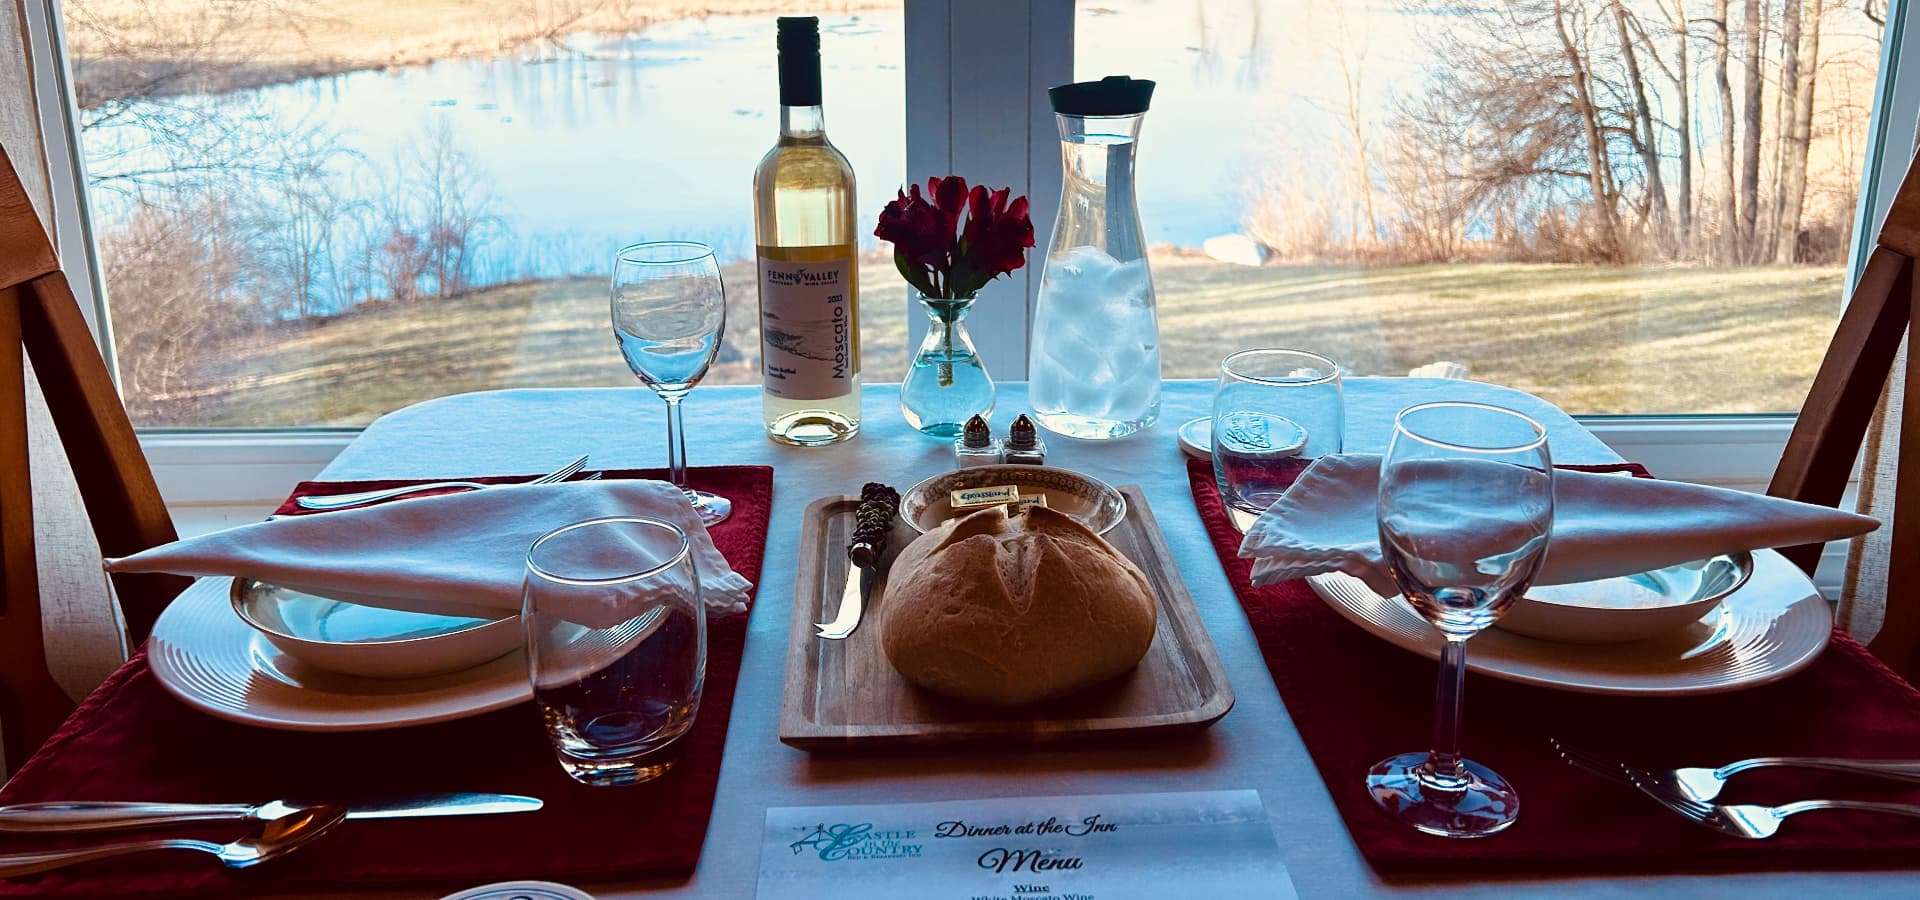
Dinner at the Inn
By the time you arrive at our inn, you may just want to unpack your things, wrap yourself in our comfy robes and forget about the stresses of life. So, stay in, unwind, and enjoy our luxurious Allegan B&B with this convenient dinner option.
Available only for lodging guests spending two or more nights at our inn and who have added the Celebration Package. Please order at least one week in advance of your arrival date to ensure all components of these packages may be provided. We reserve the right to substitute a comparable service or product based on availability.
Dinner Menu
Our full dinner for two is prepared with fresh and seasonal ingredients, packed into a basket, and delivered to your room. Enjoy your meal in-room, in our common dining areas, or at a secluded spot outdoors
This is a prefixed dinner, and special dietary restrictions are not able to be accommodated, but may be substituted with an additional dinner voucher or charcuterie board.
Your dinner basket will be served at 6:00PM and includes:
- Two Hand-Crafted Pub Pies (Choice of: Chicken, Beef, or Vegetarian)
- Homemade Rolls & Butter
- Fresh Green Salads
- Dessert for Two
- Local Winery Beverage (Choice of: Sparkling Juice, Red Wine or White Wine)